How to Use Blender (Beginner-Friendly Guide for 2026)

How to Use Blender (Beginner-Friendly Guide for 2026)
If you want to learn Blender but feel overwhelmed by its interface, this guide will walk you through everything you need to start creating 3D models today. Blender is free, open-source software that runs on Windows, macOS, and Linux—and despite first impressions, it becomes intuitive after just a few focused practice sessions.
Many users started learning Blender years ago and have seen significant progress with consistent practice over time. Learning Blender is similar to learning a musical instrument or a foreign language, requiring time and dedication.
Quick Start: What You'll Learn in This Blender Guide
This article helps absolute beginners use Blender efficiently in 2026, covering the fundamentals without unnecessary complexity. Following a course or structured tutorial series can help you build foundational knowledge in Blender and accelerate your learning. For example, American Graphics Institute provides professional Blender courses in Chicago, ranging from introductory foundations to advanced bootcamps. By the end, you'll be able to:
Navigate the interface and understand the basics of viewport controls
Use 20-30 essential shortcuts for modeling and transforms
Create and export simple 3D models like a mug, chair, or phone stand
Prepare files for 3D printing or render them as images
Blender 5.0 is the current stable release as of early 2026, featuring improved GPU rendering and refined sculpting tools. Don't let the dense interface discourage you—surveys show 70% of newcomers achieve their first render within a week.
Getting Started: Installing Blender and First Launch
This section provides step-by-step onboarding for first-time users to set up their software correctly from the start.
Download Blender exclusively from blender.org to avoid malware risks from third-party mirrors. Select the installer matching your system:
Windows 10/11: MSI installer (default path: C:\Program Files\Blender Foundation\Blender 5.0)
macOS 12+: DMG file, drag to Applications folder
Linux: TAR.XZ archive, extract to /opt/blender
During installation, enable the desktop shortcut and allow auto-updates if prompted. The install size is approximately 300-500MB.
On first launch, you'll see a splash screen. Set your language, then configure these critical preferences:
Enable Left-Click Select (Edit > Preferences > Input)
Enable Emulate Numpad if you're on a laptop without a numeric keypad
Save these as your startup file via File > Defaults > Save Startup File
This prevents frustration from settings resetting—a common issue that affects 25% of beginners.
Recommended: Blender Guru's legendary Donut Tutorial — the best starting point for any Blender beginner.
Understanding the Blender Interface and Navigation
The Blender interface looks complex, but it's organized into distinct regions you'll quickly understand.
The main regions include:
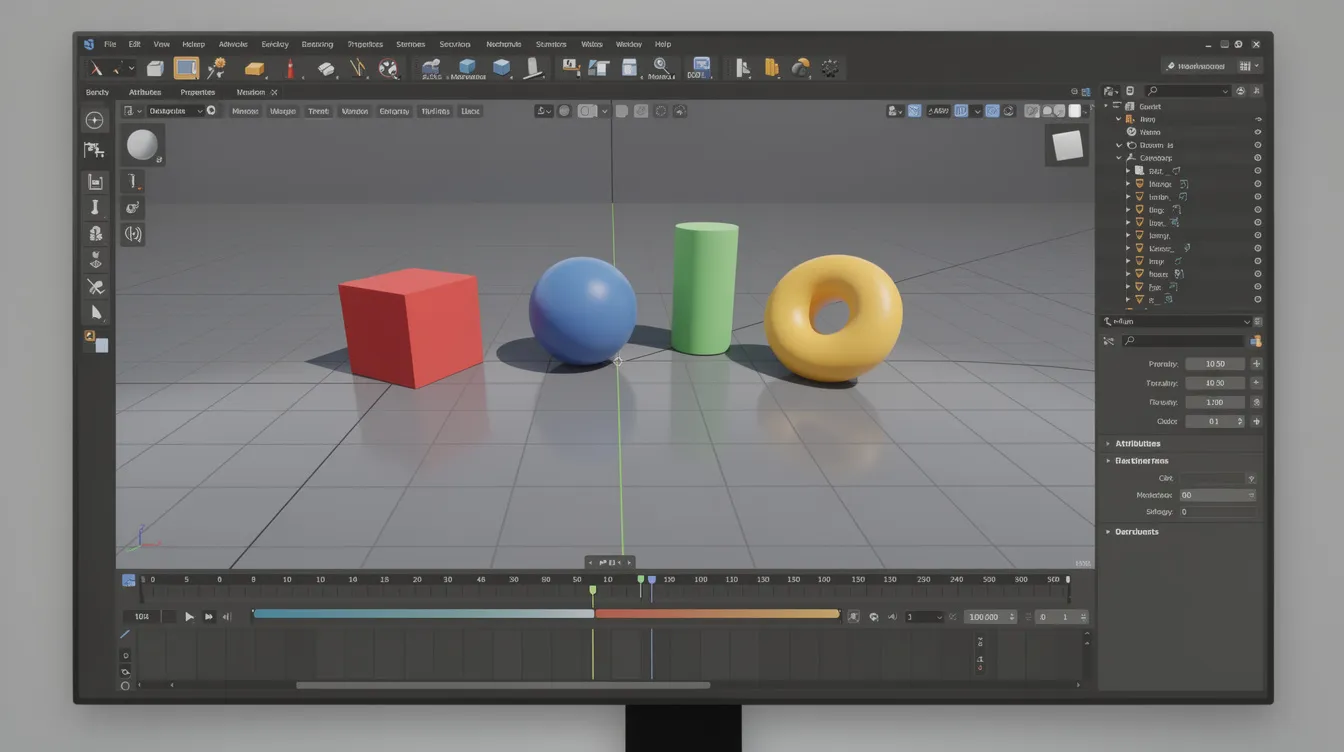
3D Viewport: The large central area where you model, sculpt, and preview scenes
Outliner (top right): Lists all objects—your default scene shows Cube, Light, and Camera
Properties Editor (bottom right): Tabs for materials, modifiers, render settings, and object transforms
Timeline (bottom): Frame scrubbing for animation
Topbar: File, Edit, and Render menus plus scene statistics
Essential navigation controls with the default keymap:
Orbit: Middle Mouse Button (MMB) drag
Pan: Shift + MMB drag
Zoom: Scroll wheel or Ctrl + MMB drag
For trackpad users, enable "Emulate 3 Button Mouse" in Preferences > Input to use two-finger drag for orbiting. Note that the default scene's cube is 2m × 2m × 2m—a helpful reference for understanding scale.
Core Workflow: Basic 3D Modeling in Blender
This section teaches you how to transform the default cube into custom shapes through a sequential workflow.
Blender uses two primary modes:
Object Mode (blue header): Transform entire objects—move, rotate, scale
Edit Mode (orange header): Edit vertices, edges, and faces of a mesh
In Edit Mode, you can select vertices, edges, or faces to manipulate an object's geometry.
Press Tab to switch between them.
Fundamental transforms work in both modes:
G (Grab/Move): Press G, then X/Y/Z to constrain to an axis
R (Rotate): Press R, then type a number (e.g., R 45 rotates 45 degrees)
S (Scale): Press S 2 to scale by 2x, or S 0.5 for half size
You can use Shift+A to bring up the Add menu in Blender for adding objects like meshes.
In Edit Mode, select sub-elements using:
1: Vertex select
2: Edge select
3: Face select
B: Box select
Alt + A: Deselect all
Essential modeling tools to build your project:
Extrude (E): Pull new geometry from selected faces
Inset (I): Shrink a face inward to create panels
Loop Cut (Ctrl + R): Add a new edge loop to a mesh in Edit Mode
Bevel (Ctrl + B): Create rounded or chamfered edges on 3D models in Blender
Start with small practice projects—a simple chair, mug, or cable clip—before attempting complex characters or animation. Experimenting with different modeling stuff, like using Shift+A to add new meshes, helps you learn the basics.
Using Modifiers to Speed Up Modeling
Modifiers are non-destructive tools that automate common modeling tasks without permanently altering your mesh.
Three beginner-friendly modifiers:
Subdivision Surface: Smooths geometry (set viewport levels 1-2 to avoid lag)
Mirror: Creates symmetry along X, Y, or Z axis—model half, get the whole object
Solidify: Adds thickness to thin surfaces for 3D printing
Add modifiers via Properties Editor > Modifier tab (wrench icon). A practical project: model half of a sci-fi panel with inset details, add a Mirror modifier, and watch your build double instantly.
Grant Abbitt's "Get Good at Blender" series — perfect for learning modeling fundamentals.
Lighting, Materials, and Rendering a Simple Scene
This section helps you create visually appealing renders with basic lighting and materials.
Before you start rendering or animating, here are some practical tips to improve your workflow in Blender. Animation in Blender relies on keyframes, which store an object's location, rotation, or scale at a specific time. You can set keyframes by moving the playhead on the timeline, transforming the object, and pressing I. Blender interpolates the movement between keyframes by default, smoothly transitioning between recorded positions.
Viewport Shading modes control what you see:
Solid: Shows geometry only (fastest for modeling)
Material Preview: Real-time Eevee preview with materials
Rendered: Full render preview (Cycles or Eevee)
Add lights via Add > Light:
Point: Omnidirectional light
Sun: Directional, infinite rays
Area: Soft, rectangular shadows
Avoid setting strength below 100W (too dark) or above 2000W (blown out). Position lights using G to move them.
To add a material, select your object and go to Properties > Material > New. Adjust:
Base Color: RGB color picker
Roughness: 0 = shiny, 1 = matte
Metallic: 0 = plastic/wood, 1 = metal
Blender offers two render engines: Eevee (fast, real-time) and Cycles (photorealistic, slower). For beginners, Eevee is helpful for quick previews while Cycles delivers better lighting quality.
Render steps:
Set resolution in Output Properties (1920×1080 recommended)
Choose your render engine
Set output folder
Press F12 to render
Saving and Exporting Your Work
Save Blender projects as .blend files with versioned filenames—for example, "mug_2026-03-14_v01.blend" keeps your date and version organized.
Common export formats:
.FBX / .OBJ: Game engines (see our Adellion Forge pipeline for Roblox-optimized workflows), other 3D software
.STL: 3D printing
Before export, apply transforms with Ctrl + A > All Transforms to avoid scale issues. Keep exported assets in a separate folder from your editable .blend files. Once your models are in Roblox, our Roblox lighting and atmosphere guide shows how to make them look professional with proper lighting.
CG Fast Track's complete Blender course — comprehensive and well-paced.
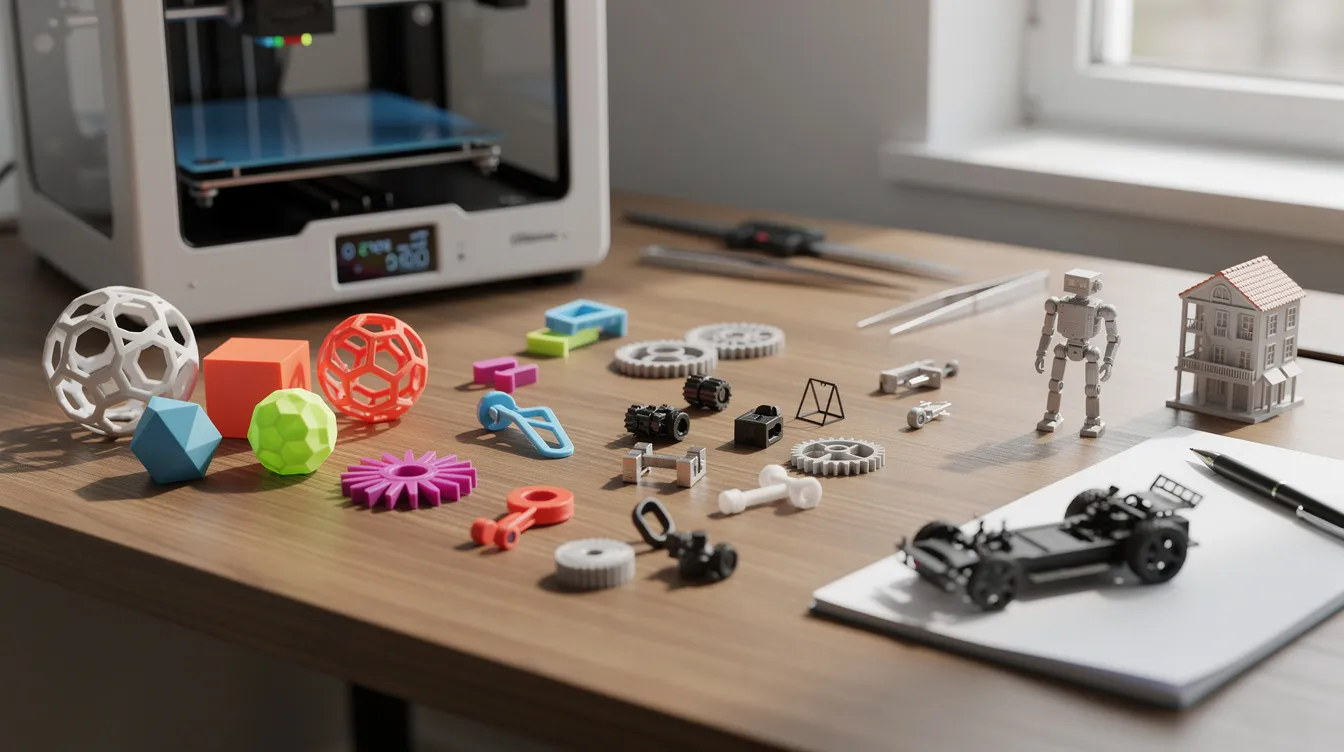
Preparing Blender Models for 3D Printing
This section focuses on turning Blender models into printable objects using workflows shared across the world of 3D printing communities on reddit and forums.
Set up correct units:
Scene Properties > Units > Metric
Set Unit Scale appropriately (millimeters for small objects)
Check dimensions in the sidebar (press N)
Manifold geometry means no holes, no internal faces, and no non-manifold edges. Slicers like Cura or PrusaSlicer will fail on bad geometry.
Cleanup steps:
Mesh > Clean Up > Merge by Distance
Mesh > Normals > Recalculate Outside (Shift + N)
Enable the 3D Print Toolbox addon to analyze thickness and overhangs
Export .STL files with transforms applied and origin set correctly. Export only the selected object to keep files clean.
Beginner 3D Printing Project Ideas
Perfect starter projects for your first prints:
Custom keychain with embossed text
Cable clip with a simple hook design
Phone stand with an angled slot
Keep wall thickness at 2-3mm and avoid fine unsupported details. These designs print in under 2 hours and teach you to iterate—model, print, refine based on how things fit.
Learning Path: How to Keep Improving in Blender
Building skills in Blender happens over months, not days. The key is consistency.
To develop your Blender skills effectively, make use of more tutorials, especially on YouTube, as they provide practical guidance and complement reading documentation. Be sure to follow each link to curated playlists or resources for foundational Blender tutorials, which can support your long-term growth in 3D modeling and animation.
Focus on one discipline at a time—hard-surface modeling, sculpting, or animation—rather than trying everything at once. The famous donut tutorial by Blender Guru has earned over 9.5m views because it teaches fundamentals through a single, achievable project. Grant Abbitt is also a recommended YouTube instructor for learning Blender, offering excellent low-poly courses for character basics.
For local and online learning opportunities, NobleProg offers 3D modeling fundamentals training in the West Loop designed for beginners in Blender. The Chicago Public Library provides free workshops for 3D modeling and animation using Blender. City Colleges of Chicago include programs like Digital Multimedia that cover 3D modeling principles applicable to Blender. Blender Studio offers professional training and real production knowledge.
Set concrete weekly goals:
"Model one household object every evening"
"Complete one blender tutorial from a playlist by Friday"
"Animate a bouncing ball by the weekend"
Watch video content on youtube from creators like Kevin Stratvert, Corridor Crew, and Sarah Renae Clark who teach creative workflows. Community resources like reddit posts, forums, and Q&A sites using tags like #b3d provide feedback and new techniques. The Chicago Motion Artists Group holds monthly networking events for artists in motion design, which are beneficial for Blender users. If playback doesn't begin shortly, try restarting your device—video tutorials require patience but the hope they offer for skill growth is worth it.
Finding a mentor or peer group can help you navigate new user challenges in Blender. The "Quantity Over Quality" rule for Blender encourages creating many small renders instead of focusing on a single high-quality project. Blender is very underrated for 3D models, and using keyboard shortcuts in Blender can significantly improve your workflow.
I'm glad to share that users practicing 20 minutes daily reach intermediate levels within 3 months ago standards showed—compared to 6+ months for sporadic practice. Sign up for community challenges, subscribe subscribed to tutorial series, and continue building. Your consistency will teach more than marathon sessions ever could.
Start small, build weekly, and you'll understand Blender's full potential faster than you expect.
Once you're comfortable in Blender, learn how to take your models into game engines with our Adellion Forge pipeline deep dive — it shows how high-fidelity Blender assets get optimized for Roblox at scale. If you want to understand the broader landscape of AI in video game development, we cover how tools like diffusion models are reshaping asset creation workflows. And for web developers interested in bringing 3D into websites, our guide to Web3D with Next.js 15 and React Three Fiber shows how to bridge games and interactive web experiences. For Roblox-specific game development, Adellion's complete guide to making a Roblox game walks beginners through Studio from installation to publishing. And once your Blender characters are imported, our Roblox NPC pathfinding and AI behavior guide covers the behavior trees, navigation meshes, and combat AI that bring them to life.